| Raspberry Pi Pico W を Arduino IDE で味見 | 您所在的位置:网站首页 › pico pio用法 › Raspberry Pi Pico W を Arduino IDE で味見 |
Raspberry Pi Pico W を Arduino IDE で味見
|
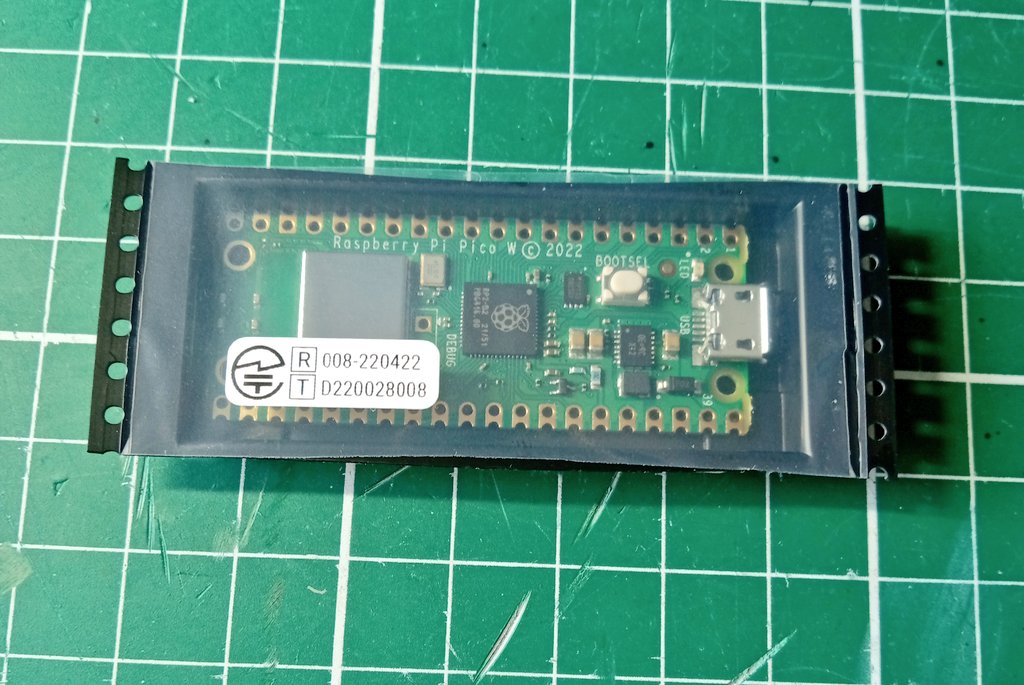
やっと憧れのRaspberry Pi Pico W を入手することができました。
これまで Raspberry Pi Pico の開発はC/C++で行っておりましたが、Arduino IDE環境も整っていそうだったので、ここではArduino IDEで楽しんでみました。
目次 Arduino IDE環境Arduino用のボードライブラリとして以下を使用しました。  GitHub - earlephilhower/arduino-pico: Raspberry Pi Pico Arduino core, for all RP2040 boards GitHub - earlephilhower/arduino-pico: Raspberry Pi Pico Arduino core, for all RP2040 boardsRaspberry Pi PicoやRaspberry Pi Pico Wにくわえて各種RP2040搭載マイコンに対応しています。 ありがたい! LチカさっそくArduino環境でLチカしてみました。 Raspberry Pi Pico WはLEDがInfineon無線チップのIO (WL_GPIO0)で制御されており若干不安でしたが、 pinMode(LED_BUILTIN, OUTPUT); で簡単にピン指定して制御できました。 フツ―に pinMode(LED_BUILTIN, OUTPUT); でいけた。 pic.twitter.com/neWuuQ9uOz — HomeMadeGarbage (@H0meMadeGarbage) March 30, 2023 初めてRaspberry Pi Pico をArduino IDEでいじることができました。 WiFi (STAモード) Raspberry Pi Pico W の “W” たる所以でありますWiFi接続を楽しみたいと思います。 導入したライブラリにはこれまたありがたいことにWebサーバーサンプルコードもありました。 このコードを参考にブラウザのボタンでLEDをON/OFFできるようにしてみました。 Raspberry Pi Pico W Arduino IDEで味見WiFiも使える素晴らしいライブラリがあって大助かり Webサーバーサンプルコードを参考にLED操作これをAPモードで是非実施したい。 ライブラリ:https://t.co/dJBG5IgWDR#IoT pic.twitter.com/uuYEv8gb2Q — HomeMadeGarbage (@H0meMadeGarbage) March 30, 2023 無事にRaspberry Pi Pico WとWiFi通信ができました。 ArduinoコードAdvanceWebServer.ino を参考にコーディング WiFiTest.ino Arduino 123456789101112131415161718192021222324252627282930313233343536373839404142434445464748495051525354555657585960616263646566676869707172737475767778798081828384858687888990919293949596979899100101102103104105106107108109110111112113 #include #include #include #ifndef STASSID#define STASSID "WiFIのSSID"#define STAPSK "WiFIのパスワード"#endif const char *ssid = STASSID;const char *password = STAPSK; WebServer server(80); int Mode = 0;String ledBt = "off"; void handleRoot() { String temp =" \n"; temp +=""; temp +=""; temp +="picoW"; temp +=""; temp +=""; temp +=".container{"; temp +=" max-width: 500px;"; temp +=" margin: auto;"; temp +=" text-align: center;"; temp +=" font-size: 1.2rem;"; temp +="}"; temp +="span,.pm{"; temp +=" display: inline-block;"; temp +=" border: 1px solid #ccc;"; temp +=" width: 50px;"; temp +=" height: 30px;"; temp +=" vertical-align: middle;"; temp +=" margin-bottom: 20px;"; temp +="}"; temp +="span{"; temp +=" width: 120px;"; temp +="}"; temp +="button{"; temp +=" width: 100px;"; temp +=" height: 40px;"; temp +=" font-weight: bold;"; temp +=" margin-bottom: 20px;"; temp +="}"; temp +="button.on{ background:lime; color:white; }"; temp +=".column-2{ max-width:250px; margin:auto; text-align:center; display:flex; justify-content:space-between; flex-wrap:wrap; }"; temp +=""; temp +=""; temp +=""; temp +=""; temp +="picoW"; //ボタン //temp +=""; temp +="LED"; //temp +=""; temp +=""; temp +=""; server.send(200, "text/HTML", temp);} void Led() { if(ledBt == "off"){ ledBt = "on"; Mode = 1; }else{ ledBt = "off"; Mode = 0; } handleRoot();} void setup(void) { pinMode(LED_BUILTIN, OUTPUT); Serial.begin(115200); WiFi.mode(WIFI_STA); WiFi.begin(ssid, password); Serial.println(""); // Wait for connection while (WiFi.status() != WL_CONNECTED) { delay(500); Serial.print("."); } Serial.println(""); Serial.print("Connected to "); Serial.println(ssid); Serial.print("IP address: "); Serial.println(WiFi.localIP()); server.on("/", handleRoot); server.on("/Led", Led); server.begin(); Serial.println("HTTP server started");} void loop(void) { server.handleClient(); if(Mode){ digitalWrite(LED_BUILTIN, HIGH); }else{ digitalWrite(LED_BUILTIN, LOW); }}WiFi (APモード) つづいてRaspberry Pi Pico W をアクセスポイントにして直接WiFi通信するAPモードを試してみました。 APモードでも通信出来た WiFi.mode(WIFI_STA)からWiFi.mode(WIFI_AP) に変更してSSIDやIPの調整だけ 動画では全く分からないけどスマホからpico Wに直接つないで通信しています。本当です。#RaspberryPi pic.twitter.com/AKsWYJWAp5 — HomeMadeGarbage (@H0meMadeGarbage) March 30, 2023 分かりにくいですが外部のネットワークは使用せずにスマホからpico Wに直接つないで通信しています。 Arduinoコード先ほどのSTAモードのコードのWiFi.mode(WIFI_STA)をWiFi.mode(WIFI_AP) に変更してSSIDやIPの調整だけで実現できました。 APtest02.ino Arduino 123456789101112131415161718192021222324252627282930313233343536373839404142434445464748495051525354555657585960616263646566676869707172737475767778798081828384858687888990919293949596979899100101102103104105106107 #include #include #include const char ssid[] = "picoW"; // SSIDconst char pass[] = "password"; // password const IPAddress ip(192, 168, xx, xx); // IPアドレスconst IPAddress subnet(255, 255, 255, 0); // サブネットマスク WebServer server(80); int Mode = 0;String ledBt = "off"; void handleRoot() { String temp =" \n"; temp +=""; temp +=""; temp +="picoW"; temp +=""; temp +=""; temp +=".container{"; temp +=" max-width: 500px;"; temp +=" margin: auto;"; temp +=" text-align: center;"; temp +=" font-size: 1.2rem;"; temp +="}"; temp +="span,.pm{"; temp +=" display: inline-block;"; temp +=" border: 1px solid #ccc;"; temp +=" width: 50px;"; temp +=" height: 30px;"; temp +=" vertical-align: middle;"; temp +=" margin-bottom: 20px;"; temp +="}"; temp +="span{"; temp +=" width: 120px;"; temp +="}"; temp +="button{"; temp +=" width: 100px;"; temp +=" height: 40px;"; temp +=" font-weight: bold;"; temp +=" margin-bottom: 20px;"; temp +="}"; temp +="button.on{ background:lime; color:white; }"; temp +=".column-2{ max-width:250px; margin:auto; text-align:center; display:flex; justify-content:space-between; flex-wrap:wrap; }"; temp +=""; temp +=""; temp +=""; temp +=""; temp +="picoW"; //ボタン //temp +=""; temp +="LED"; //temp +=""; temp +=""; temp +=""; server.send(200, "text/HTML", temp);} void Led() { if(ledBt == "off"){ ledBt = "on"; Mode = 1; }else{ ledBt = "off"; Mode = 0; } handleRoot();} void setup(void) { pinMode(LED_BUILTIN, OUTPUT); Serial.begin(115200); delay(50); WiFi.mode(WIFI_AP); WiFi.softAPConfig(ip, ip, subnet); WiFi.softAP(ssid, pass); delay(50); IPAddress myIP = WiFi.softAPIP(); // WiFi.softAPIP()でWiFi起動 Serial.print("SoftAPのIPアドレス: "); Serial.println(myIP); server.on("/", handleRoot); server.on("/Led", Led); server.begin(); Serial.println("HTTP server started");} void loop(void) { server.handleClient(); if(Mode){ digitalWrite(LED_BUILTIN, HIGH); }else{ digitalWrite(LED_BUILTIN, LOW); }}I2C味見 I2Cの味見としてOLED表示を試しました。 Adafruit_SSD1306ライブラリで問題なく動作しましたが、I2Cのピン指定のみ以下のようにする必要がありました。すこし独特です。 Wire.setSDA(0); Wire.setSCL(1); Wire.begin(); 問題なく動いた pic.twitter.com/QGcATk6axK — HomeMadeGarbage (@H0meMadeGarbage) March 30, 2023 参考 Raspberry Pi Documentation Raspberry Pi Pico W Pinout Raspberry Pi Pico W データシート おわりに ここでは Raspberry Pi Pico W をArduino IDEで楽しみました。 ありがたいライブラリのおかげでArduinoマイコンやESP32と同じように楽しむことができました。 引き続き、マルチコアやモータ駆動なども試してみたいと思います。 また報告させていただきます。 次の記事Raspberry Pi Pico W を Arduino IDE で味見2 ー姿勢制御モジュール製作ー 関連記事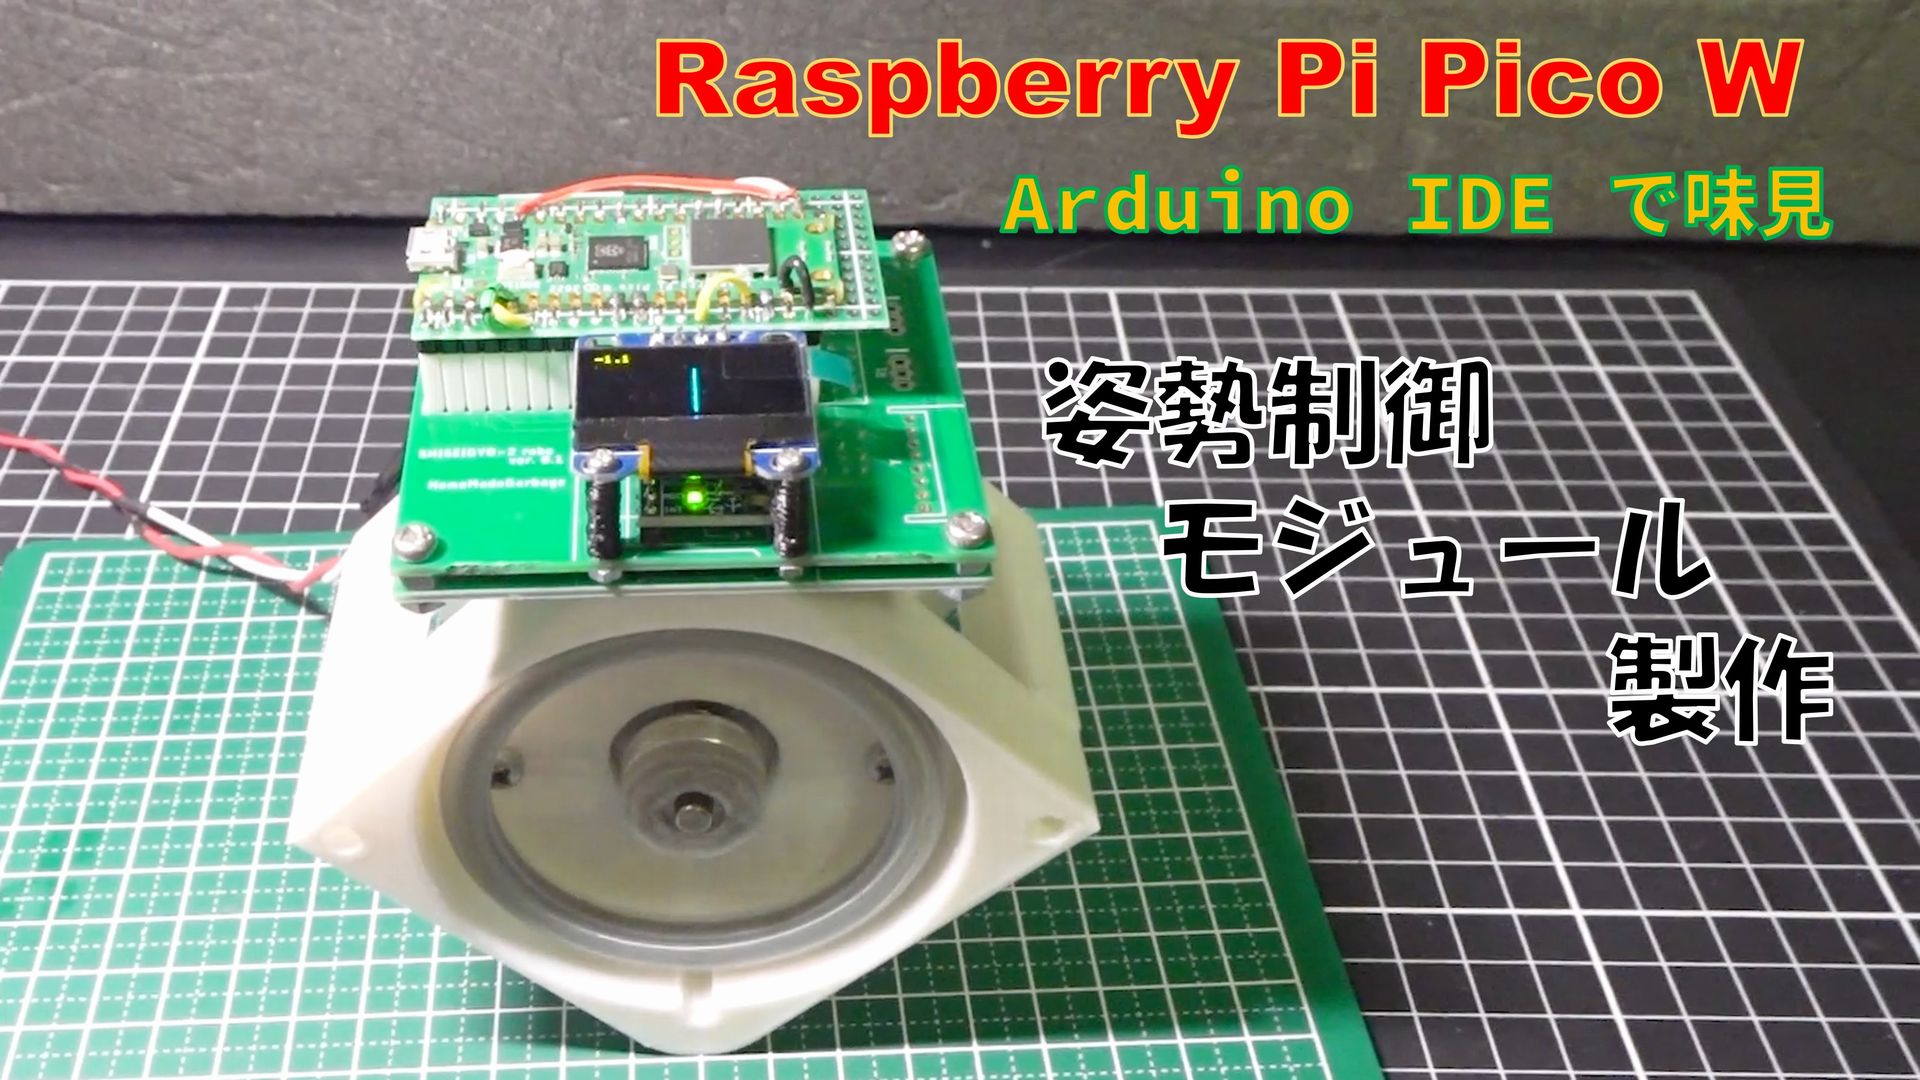 Raspberry Pi Pico W を Arduino IDE で味見2 ー姿勢制御モジュール製作ー Raspberry Pi Pico W を Arduino IDE で味見2 ー姿勢制御モジュール製作ー
 Raspberry Pi Picoへの道 爆誕 ーRaspberry Pi Picoへの道1ー Raspberry Pi Picoへの道 爆誕 ーRaspberry Pi Picoへの道1ー
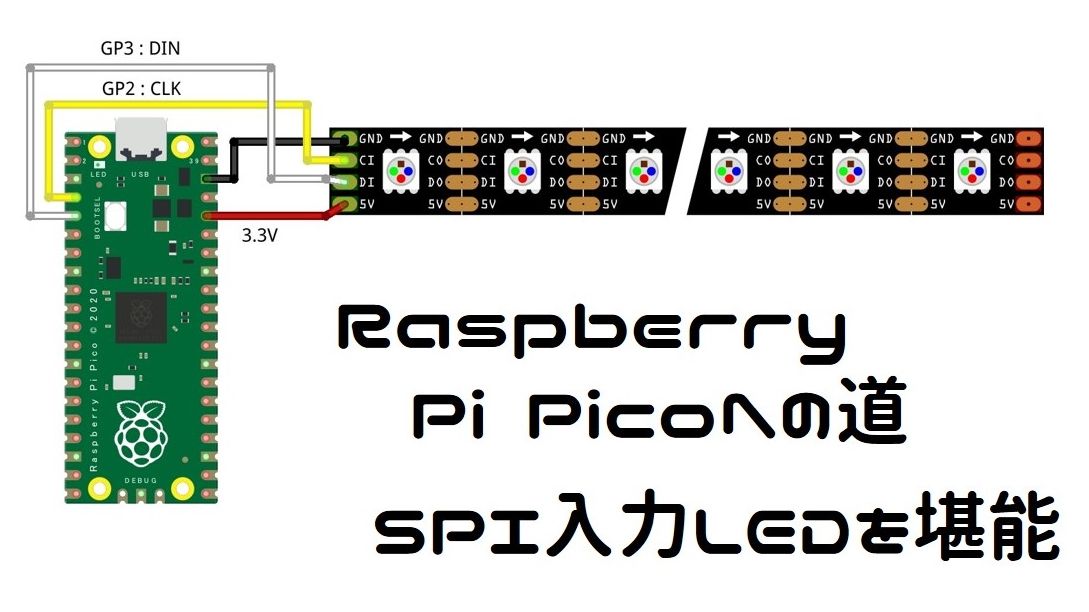 SPI入力LEDを堪能 (C/C++) ーRaspberry Pi Picoへの道5ー SPI入力LEDを堪能 (C/C++) ーRaspberry Pi Picoへの道5ー
 Raspberry Pi Pico でバーサライタ製作 (C/C++) ーRaspberry Pi Picoへの道6ー Raspberry Pi Pico でバーサライタ製作 (C/C++) ーRaspberry Pi Picoへの道6ー
 Raspberry Pi Pico バーサライタ解像度向上 (C/マルチコア) ーRaspberry Pi Picoへの道7ー Raspberry Pi Pico バーサライタ解像度向上 (C/マルチコア) ーRaspberry Pi Picoへの道7ー
 Raspberry Pi Pico バーサライタで PIO を考えるーRaspberry Pi Picoへの道8ー Raspberry Pi Pico バーサライタで PIO を考えるーRaspberry Pi Picoへの道8ー
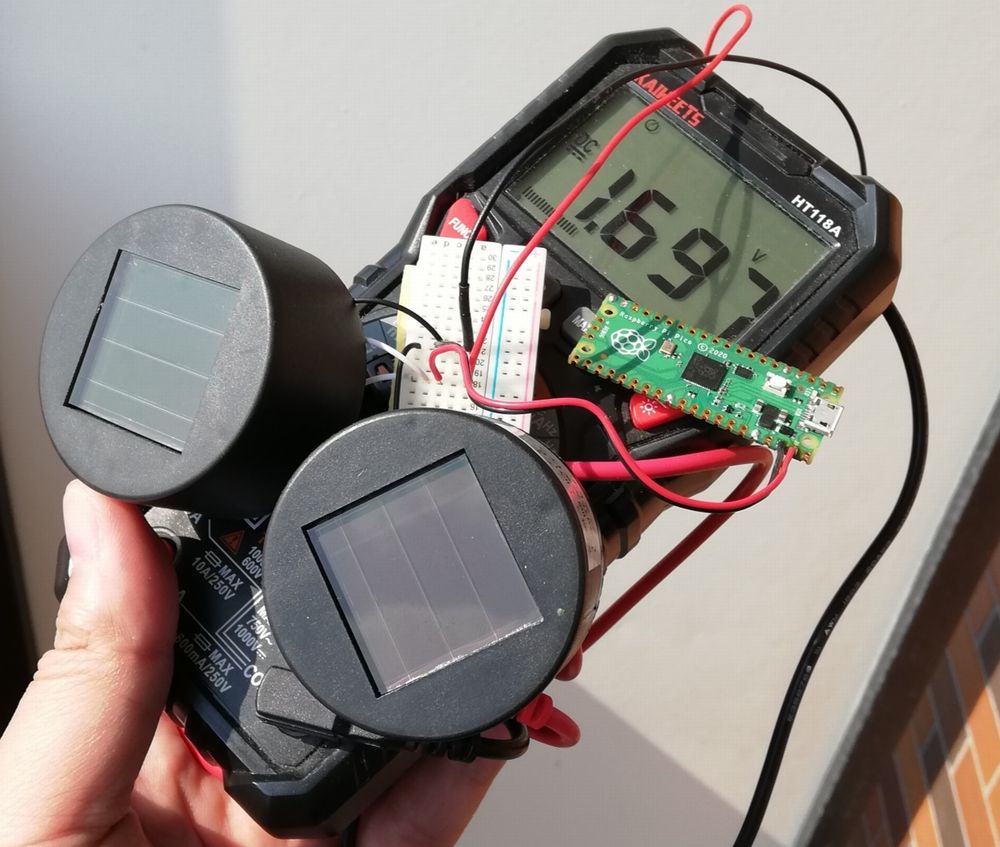 100均のソーラーパネルで Raspberry Pi Pico を駆動 100均のソーラーパネルで Raspberry Pi Pico を駆動
 みんなのラズパイコンテスト2021 優秀賞受賞!
コメントはこちらから コメントをキャンセル みんなのラズパイコンテスト2021 優秀賞受賞!
コメントはこちらから コメントをキャンセル
このサイトはスパムを低減するために Akismet を使っています。コメントデータの処理方法の詳細はこちらをご覧ください。 SHOP
電子工作レシピを販売中! FORUMフォーラム CONTACTお問い合わせフォーム CODES紹介コードです。よろしければぜひ! iHarb:GTP946 メルカリ:XKQSZU RANKING 7 DAYS 1 カルマン・フィルタで ATOM Matrix 傾斜計 ーリアクションホイールへの道3ー
2
カルマン・フィルタで ATOM Matrix 傾斜計 ーリアクションホイールへの道3ー
2
 オールドコーチのシリアルナンバーの読み方について
3
オールドコーチのシリアルナンバーの読み方について
3
 カルマン・フィルタで M5stickC 傾斜計 ー倒立振子への道 1ー
4
カルマン・フィルタで M5stickC 傾斜計 ー倒立振子への道 1ー
4
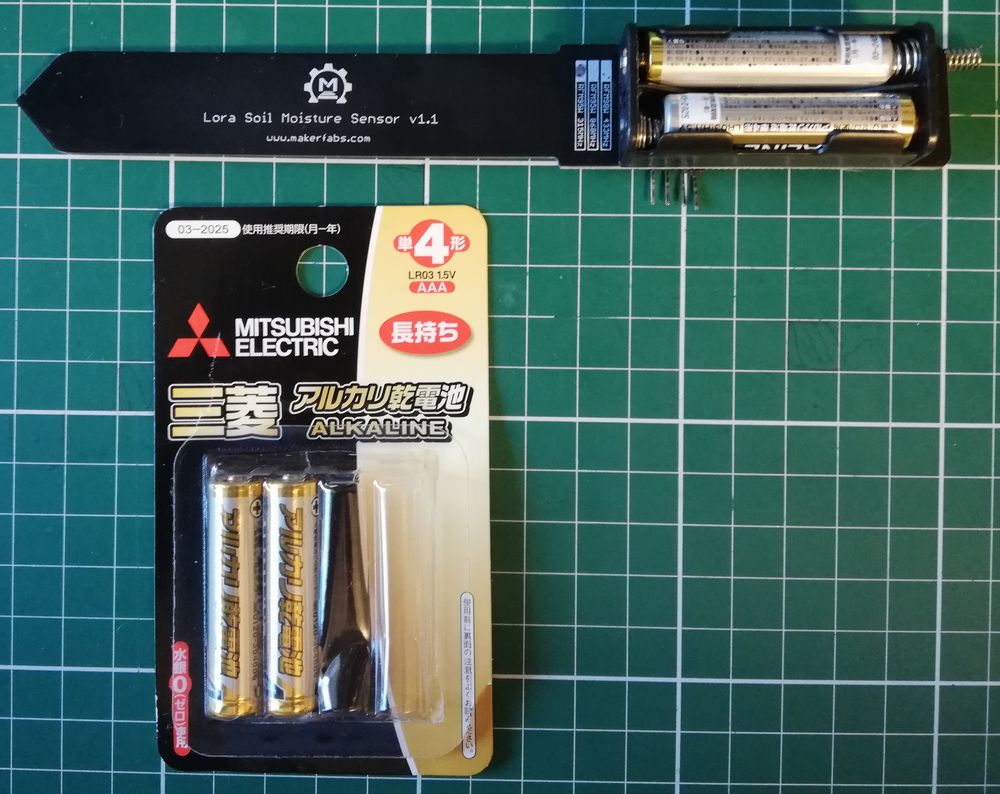 Lora通信 土壌センサの低消費電力化
5
Lora通信 土壌センサの低消費電力化
5
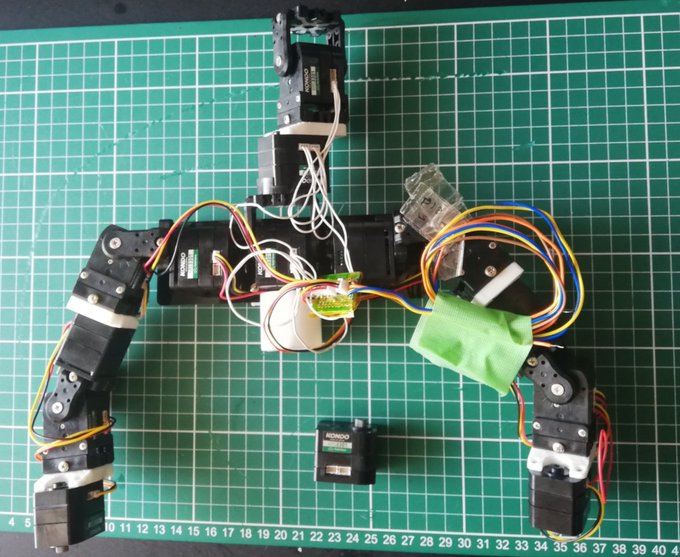
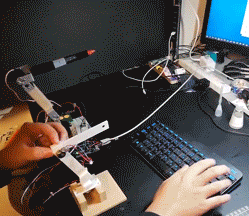 自作ロボットアーム動作の 記録・再生 機能
6
自作ロボットアーム動作の 記録・再生 機能
6
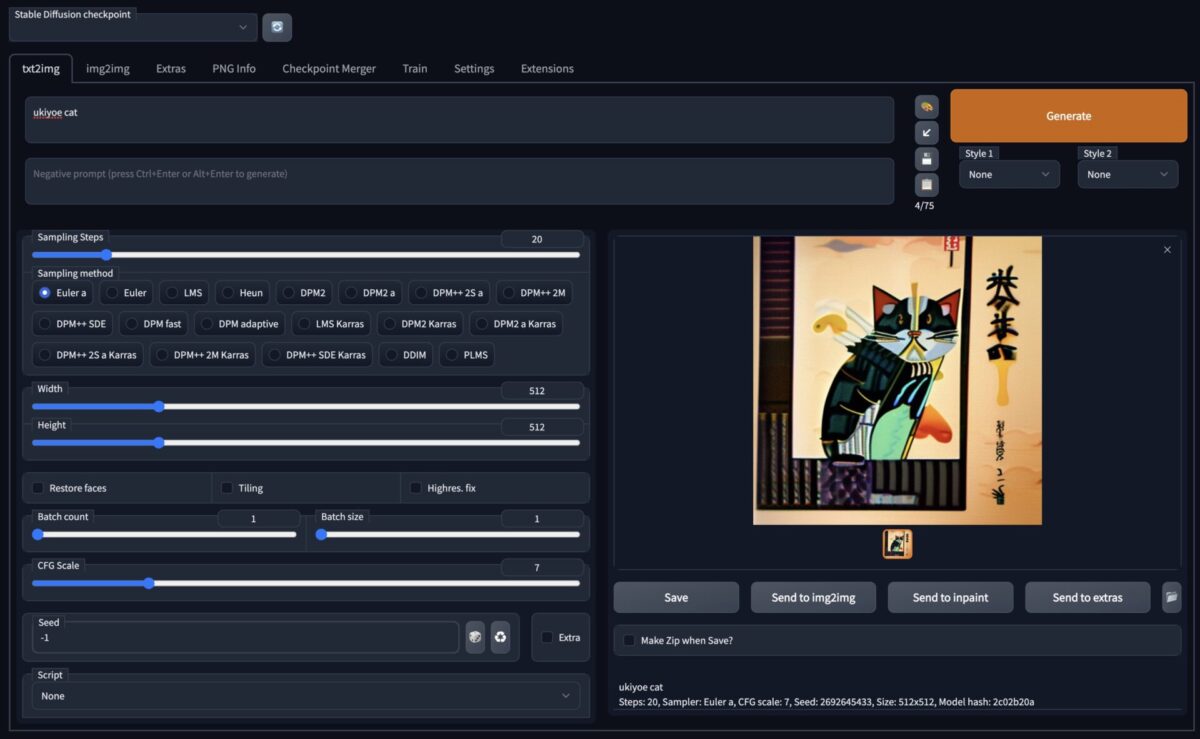 Google colab Pro + Stable Diffusion 2.0 + AUTOMATIC1111
7
Google colab Pro + Stable Diffusion 2.0 + AUTOMATIC1111
7
 HUMAX HG100R-02JG の ポート開放設定
8
HUMAX HG100R-02JG の ポート開放設定
8
 はじめてのシリアルサーボ -シリアルサーボと距離を詰めたい俺1-
9
はじめてのシリアルサーボ -シリアルサーボと距離を詰めたい俺1-
9
 Raspberry Pi Zero に Android から USBテザリング で SSH接続
10
Raspberry Pi Zero に Android から USBテザリング で SSH接続
10
 クローズドループ正弦波駆動 その2 ーブラシレスモータ駆動への道6ー
LATEST POSTSTAGSCOMMENTSCATEGORY
クローズドループ正弦波駆動 その2 ーブラシレスモータ駆動への道6ー
LATEST POSTSTAGSCOMMENTSCATEGORY
|
![[SHOP] HOMEMADEGARBAGE & WELCOME脳](/assets/images/welcomeno-banner.png)
 Twitterもやってるよ!
 動画もアップしています!
【本文地址】